I used this pattern from a Russian website, which had nice easy to follow instructions.

I did the handles a little differently - I showed my daughter some ideas and she liked the plaited handles from this website.

So here is the bag in progress - using the first website's template.

I used hubby's old jeans to reinforce the bottom and cut off a leg hem to make a pocket. I used a herringbone stitch to sew the pocket down but I would probably have been better off using a small running stitch on it.

I used one strip each from the jeans, the lining and the polka dot fabric to braid the handles, and even let my daughter do some - if you look carefully at the back handle on the green lining strip you can see her stitches. She apologised for them being ugly but that's ok, it's her bag, it's nice that she did part of the sewing!

My son started carrying around the "sewing bag" because it's a good size for carrying around iPads, snacks, and books, so I thought I'd make him his own bag. I was inspired by this tutorial with a shirt and tie and I modified it to use leftovers around my house.

Hubby had a thick long sleeve winter shirt that was hardly worn but he didn't like wearing it because it was too hot - a shame because someone else could have worn it! However, the nice thick shirt now was becoming a sturdy bag.

I also took two old different ties to make two different handles, and was going to use the contrasting one as a fold over close for the bag. I realised that these two ties are expensive branded ties but they are dreadfully old fashioned so taking scissors to them wasn't the end of the world
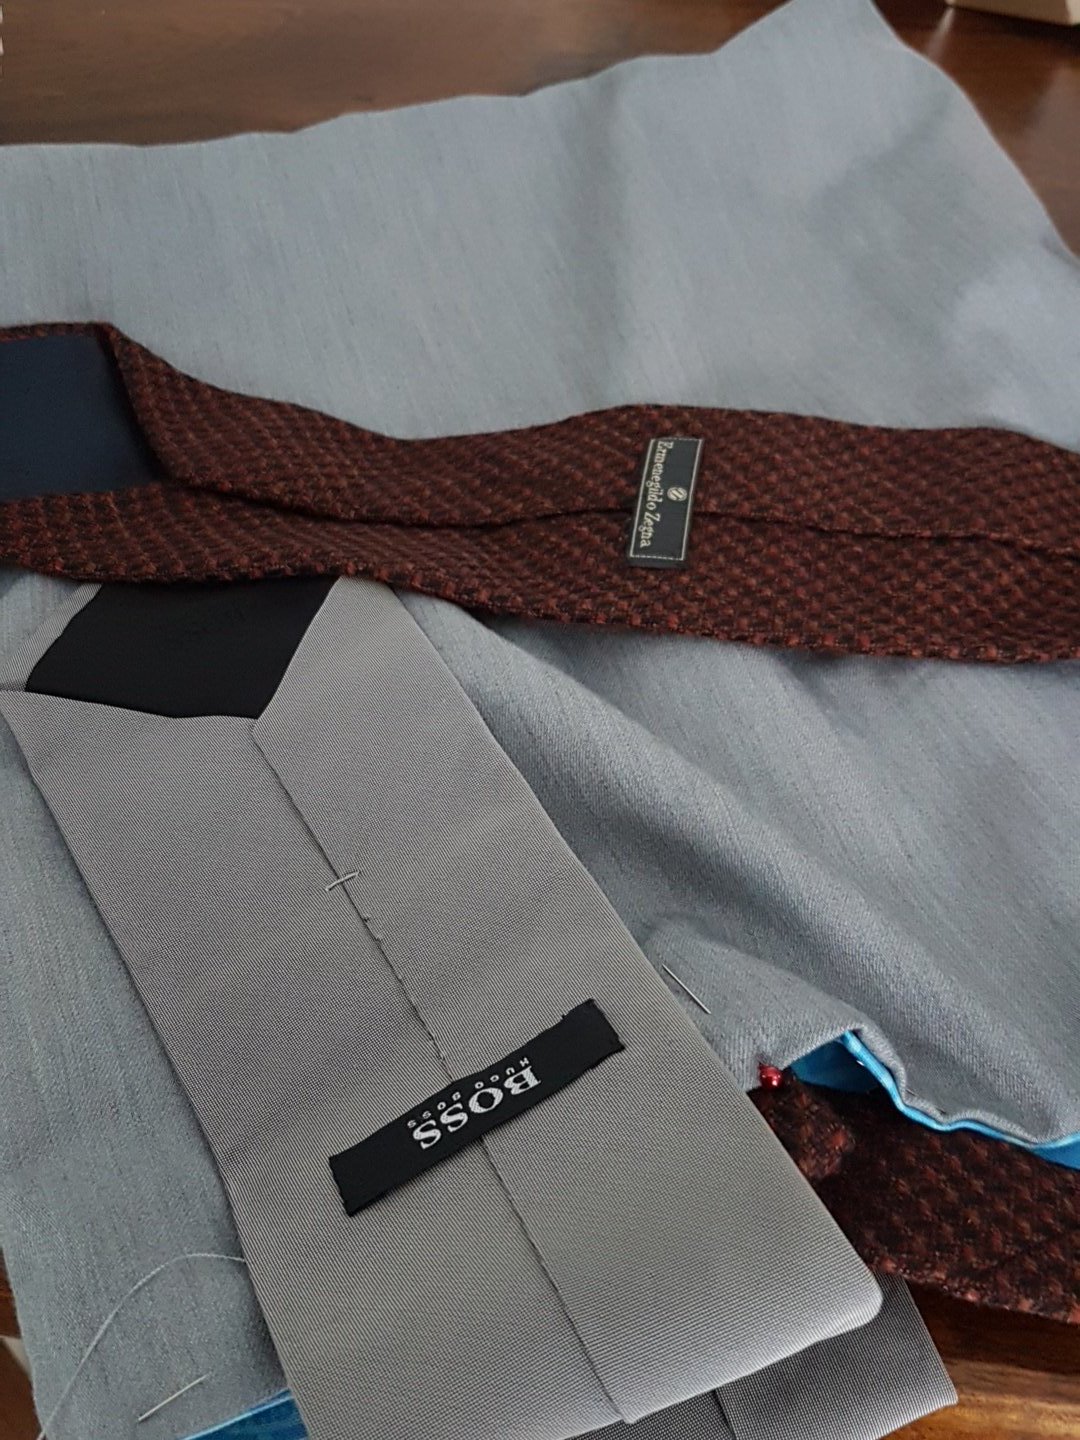
Sewing the shirt closed is important! I should have done that before I sewed the 2 squares together. To make the bag a little more boxy, I cut out symmetrical squares from the bottom corners to make a flat base like in my daughter's bag, but smaller. Another thing I did was sew a hidden pocket which opens with one of the buttons on the shirt. I like the idea of a secret pocket!

For the lining I had some old Thomas the Tank Engine thicker canvas like fabric which I bought for the kids but never used. I measured 14cm from each edge and attached the tie handles. Because the tie is assymetrical, the 14cm measure to the middle of the tie. I sewed the narrower end into the lining, but left the fat end of the tie inside the bag - I might use it to make a loop to put a drink bottle or something in.

Here is the finished bag, taken whilst we were eating breakfast. You can see the contrasting tie as the opposite bag handle and the tongue of the tie which folds over to the opposite side as a bag closure. I was going to get a magnetic snap and sew it on as a formal closure, but I worry that it will affect the look of the shirt bag. The contrasting tongue can also be just folded into the bag if nobody wants to use it as a closure, but it does look quite good as a tie/shirt when closed!

All lovingly hand stitched! My backstitch is now looking very tidy - I think I might try making some with my sewing machine and see if I can make the bags stronger or more durable. Looks like we'll have shopping bags galore!