My daughter's art bag was an old Easter Show canvas bag that was looking worse for wear so I asked her if she wanted me to make her a new one. She did so off we went to Spotlight to buy some material. The material she bought I was horrified with - there are so many NICE colourful duck fabrics we could have used but she chose a grey base with pink polka dots, and a plain green for the lining.
I used this pattern from a Russian website, which had nice easy to follow instructions.
I did the handles a little differently - I showed my daughter some ideas and she liked the plaited handles from this website.
So here is the bag in progress - using the first website's template.
I used hubby's old jeans to reinforce the bottom and cut off a leg hem to make a pocket. I used a herringbone stitch to sew the pocket down but I would probably have been better off using a small running stitch on it.
I used one strip each from the jeans, the lining and the polka dot fabric to braid the handles, and even let my daughter do some - if you look carefully at the back handle on the green lining strip you can see her stitches. She apologised for them being ugly but that's ok, it's her bag, it's nice that she did part of the sewing!
My son started carrying around the "sewing bag" because it's a good size for carrying around iPads, snacks, and books, so I thought I'd make him his own bag. I was inspired by this tutorial with a shirt and tie and I modified it to use leftovers around my house.
Hubby had a thick long sleeve winter shirt that was hardly worn but he didn't like wearing it because it was too hot - a shame because someone else could have worn it! However, the nice thick shirt now was becoming a sturdy bag.
I also took two old different ties to make two different handles, and was going to use the contrasting one as a fold over close for the bag. I realised that these two ties are expensive branded ties but they are dreadfully old fashioned so taking scissors to them wasn't the end of the world
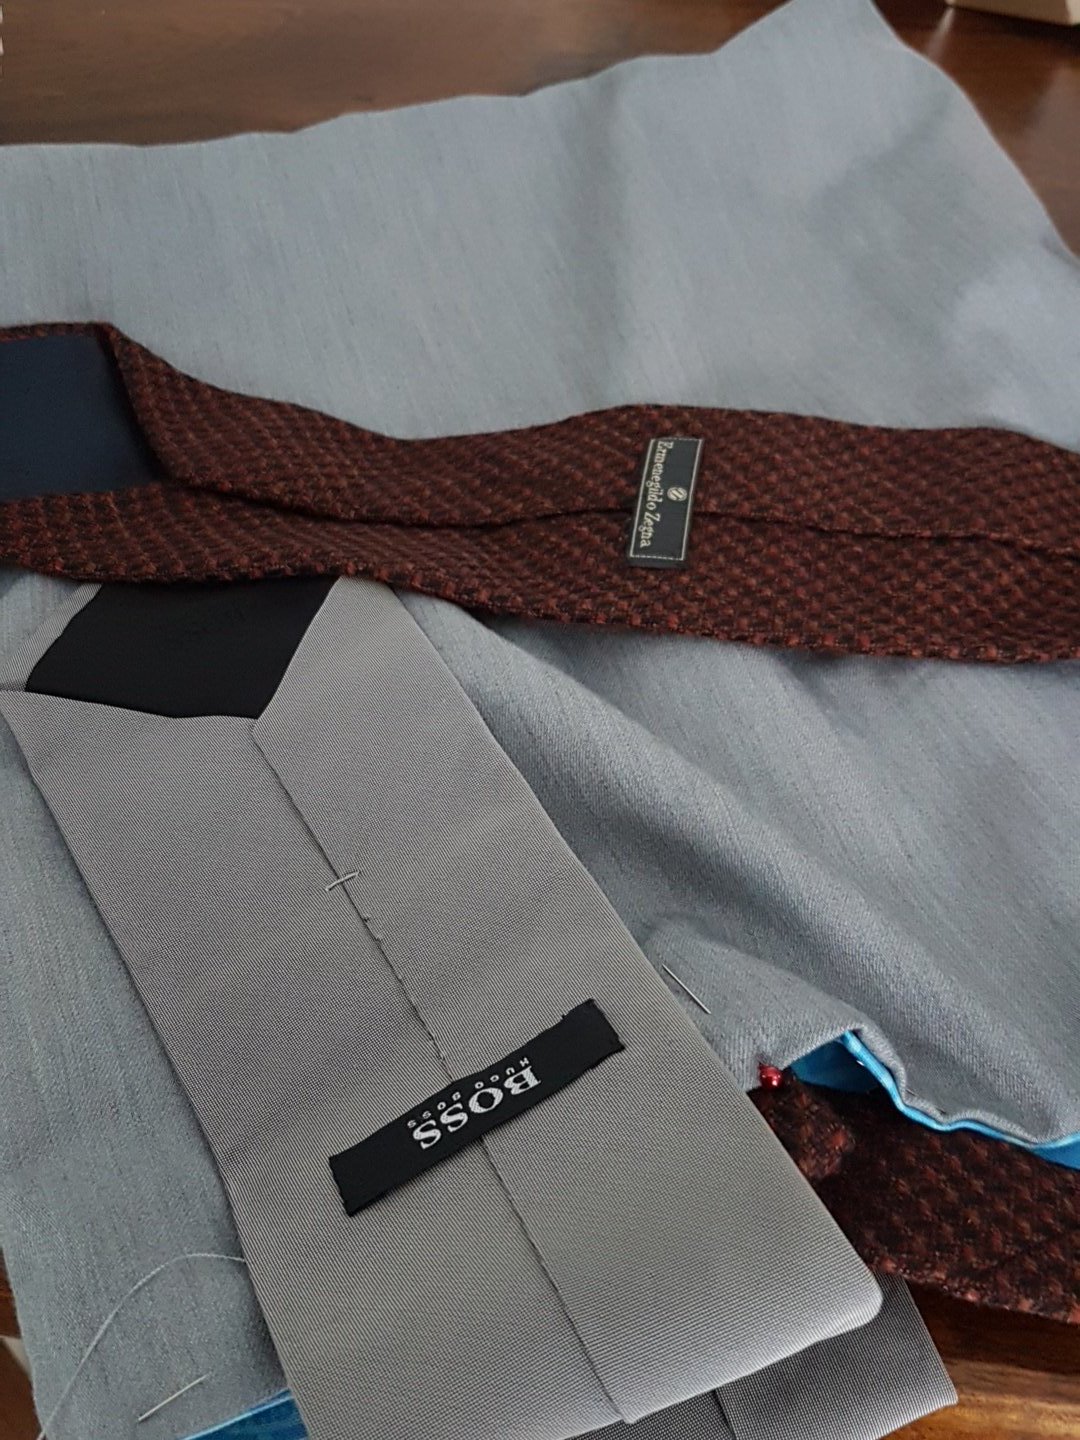
Sewing the shirt closed is important! I should have done that before I sewed the 2 squares together. To make the bag a little more boxy, I cut out symmetrical squares from the bottom corners to make a flat base like in my daughter's bag, but smaller. Another thing I did was sew a hidden pocket which opens with one of the buttons on the shirt. I like the idea of a secret pocket!
For the lining I had some old Thomas the Tank Engine thicker canvas like fabric which I bought for the kids but never used. I measured 14cm from each edge and attached the tie handles. Because the tie is assymetrical, the 14cm measure to the middle of the tie. I sewed the narrower end into the lining, but left the fat end of the tie inside the bag - I might use it to make a loop to put a drink bottle or something in.
Here is the finished bag, taken whilst we were eating breakfast. You can see the contrasting tie as the opposite bag handle and the tongue of the tie which folds over to the opposite side as a bag closure. I was going to get a magnetic snap and sew it on as a formal closure, but I worry that it will affect the look of the shirt bag. The contrasting tongue can also be just folded into the bag if nobody wants to use it as a closure, but it does look quite good as a tie/shirt when closed!
All lovingly hand stitched! My backstitch is now looking very tidy - I think I might try making some with my sewing machine and see if I can make the bags stronger or more durable. Looks like we'll have shopping bags galore!
Showing posts with label craft. Show all posts
Wednesday, 19 April 2017
Wednesday, 9 September 2015
Nerdy Knitting and Crochet Projects
I have gone on a bit of a knitting frenzy and after knitting a dress, some fingerless gloves and some grandma slippers, I thought I might turn my attention to something a little more nerdy!
And She Games had a list of Star Trek related knitting projects - some of which are too outrageous and I wouldn't make them, but I think I wouldn't mind making some fingerless gloves with a federation pattern or a communicator pattern.
Oh and these Live Long and Proper gloves look rather cool. They could also be a bit tauren like with the three fingered look.
Geek Mom had some knitting projects too - I think the Totoro sweater is awesome as well as those Star Trek pot holders - I think they would make good patchwork squares for a blanket.
At the moment I am practicing doing colour changing in crochet - this is my practice run but my next one will be a tidy double sided project. The chart was done by CelestialQueen on deviant art.
At least all this knitting has given me extra excuses to watch television and catch up on my tv shows and movies!
And She Games had a list of Star Trek related knitting projects - some of which are too outrageous and I wouldn't make them, but I think I wouldn't mind making some fingerless gloves with a federation pattern or a communicator pattern.
Oh and these Live Long and Proper gloves look rather cool. They could also be a bit tauren like with the three fingered look.
Geek Mom had some knitting projects too - I think the Totoro sweater is awesome as well as those Star Trek pot holders - I think they would make good patchwork squares for a blanket.
At the moment I am practicing doing colour changing in crochet - this is my practice run but my next one will be a tidy double sided project. The chart was done by CelestialQueen on deviant art.
At least all this knitting has given me extra excuses to watch television and catch up on my tv shows and movies!
Sunday, 22 March 2015
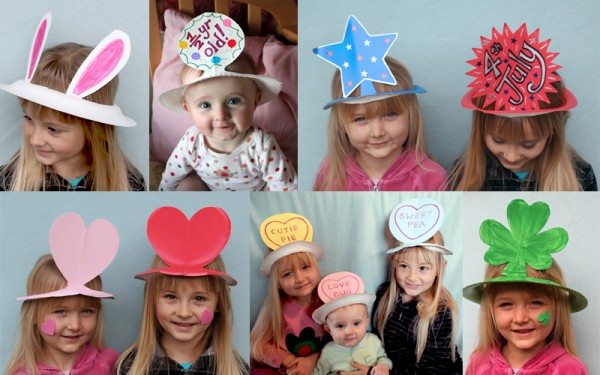
My Easter Hat ideas
When my daughter was in kindergarten I made her a very simple hat, which was just a band with and made a two strips cross over the top like a hot cross bun and decorated it with stickers. As the Easter hat parade is always on a Wednesday which is a day that I am never able to get off or sneak out to for lunch, I have never been there for her parade. Her aunt went and told me her hat was the worst hat there. How MORTIFYING.
I put double sided sticky tape around the base of the hat and then applied the pattern around the hat. Then I used some spare ribbon to tie around top 2/3 of the hat and curled the edges down and tucked them into the ribbon.
When I saw pictures of hats, I saw lots of people had used premade materials to use hats, like those party top hats you can buy at the $2 shop, or straw hats. Which is fine, but I think it's a bit boring. I wanted to make a hat from scratch, using what I had at home.
So last year, when my daughter was in Year 1, I decided to step it up a little bit and made the same style of hat, but this time I put ears on it and a cotton tail on the back. Now it looked like a kid made hat, and I let her decorate it.
All the things were easily found around the house, and I was quite pleased with using some of those useless twist ties for something - whiskers was a great idea! She loved the hat a lot and wore it for a few days after the parade, which made me happy. Her contribution to the hat was colouring the pink on the ears and sticking on the whiskers and tail.
This year I have TWO kids needing Easter hats, and I thought I would make something a little bit more fancy!
I looked on the internet for hats that I could make using things around the home and one brilliant idea I saw was using paper plates!
| From Alpha Mom |
One parent had made a spiral out of her hat and I thought I would try that for my son, and my daughter asked if she could take a basket for her easter eggs to school. I thought, I have a BETTER idea. How about I make your hat a basket!
So for my son's hat I started with a paper plate and a spiral cut into it.
Then I cut strips of paper and stuck them all over the hat, in colours that my son selected. I used one pipe cleaner to stabilise the spiral a little bit by poking a hole at the start of the spiral (hat brim) and then fixing the other end of the pipe cleaner to the top of the spiral. My son also said he wanted an egg, so I made the top of the hat look like a fried egg.
Just to make it a look a bit more easter-like I stuck some chicks and some hand coloured paper easter eggs (done by the kids) on more pipe cleaners. So, this was the easy not too flimsy hat that I made for my son. If he breaks or loses it, I won't be too upset (as long as he gets to wear it for the parade).
I was very proud of my daughter's hat! I also started off with a paper plate, and I cut a hole in it then cut little tabs to give the cylindrical top of the hat something to adhere to.
The top was just an A3 paper (2 pieces were needed) rolled into a cylinder and stuck on top. I used a piece of sticky tape for each tab to adhere it into the cylinder and it held very nicely.
To make the top part of the hat, I measured 15cm from the top of the cylinder and cut 1.5cm strips all the way around. I taped the opposing ends together, with one left upright to be a handle and the rest were pushed down to make the inside of the basket.
I cut some coloured strips of paper and asked my daughter to arrange it in the colour pattern she would like around the hat.
I put double sided sticky tape around the base of the hat and then applied the pattern around the hat. Then I used some spare ribbon to tie around top 2/3 of the hat and curled the edges down and tucked them into the ribbon.
I was very pleased with the finished "mummy steps" of that hat! I ended up using some sticky tape to make sure the loops didn't slide. Not very professional looking but for a kids hat, it's ok!
I left the rest for my daughter to decorate. She stuck some foam stars on it and also some shiny teddy confetti around the edges of the hat and she was very pleased with the result! So the finishing touches will be some straw or shredded green paper to line the basket and then put a small fluffy pompom chick in the basket with some easter eggs.
Thursday, 14 August 2014
Cardmaking - Simple Washi Tape card
Here is a simple card I made with Washi tape (that I got from Costco) and Sizzix Alpha Bubbles die (cut with my Sizzix Big shot) with textured white cardstock and plain black cardstock for the letters background. Letters are such a useful thing to do with leftover scraps of coloured paper! My daughter helped me make it because it was for her teacher. This is a nice quick easy card - easy 10 minutes and we're done!
Wednesday, 13 August 2014
I got a Cricut Personal Cutter!
I admit, I already have a craft cutter - a Silhouette - but it's annoying to have to draw the stuff on my computer before I cut it. Besides, Cricut has all these cute little cartridges and I bought one - Create a Critter - which had such cute animals I thought there were heaps of cards and projects I could make!
So when I got a second hand (and a bit broken) one on Ebay, I couldn't wait to make a few things, and here were the first ones I made:
There are heaps of ideas on Pinterest too, and I'm going to stick a few here so I don't forget and maybe try my hand at them sometime soon!
Wednesday, 11 December 2013
Craft corner: Sizzix Big Shot
I decided to spoil myself and buy myself a die cutter. The great thing is they can do embossing as well, and I love embossing stuff! So I shopped around and I ended up buying a Sizzix Big Shot in teal.
I told my daughter and told her all the fun things we can make - we can make lots of cool cards and it's so easy to use, even she can do it. She's as excited as me!
I got it for a good price ($119) and it came with 5 embossing folders so I played around with them. Now I've gone crazy and want to buy lots of embossing folders for card making and scrapbooking!
This video shows you how easy it is:
Stay tuned for my daughter's first proper card making project using mummy's whole compendium of scrapbooking and cardmaking supplies.
I told my daughter and told her all the fun things we can make - we can make lots of cool cards and it's so easy to use, even she can do it. She's as excited as me!
I got it for a good price ($119) and it came with 5 embossing folders so I played around with them. Now I've gone crazy and want to buy lots of embossing folders for card making and scrapbooking!
This video shows you how easy it is:
Stay tuned for my daughter's first proper card making project using mummy's whole compendium of scrapbooking and cardmaking supplies.
Friday, 22 June 2012
Craft at work - Theatre scrub hat made for Registrar E
I wanted to make a hat as a gift from my Registrar (who is a crafty little thing and knits tea cosies and makes quilts and sews) and the only thing I could make was a theatre hat.
I have a lot of great material that I have picked up from Ebay and it wasn't hard to find one that suited her. So I brought my material and thread and needles to work, pinched some scissors from the secretary, and then realised I forgot to bring elastic! However, I remembered the oxygen masks have elastic to hold them onto the face so I took some elastic from an oxygen mask - woot I was set!
Fortunately I had a registrar with me all day so I was able to sit in the corner and sew. People thought I was crazy hand sewing a hat, but I managed to get it done by about 1530 and even embroidered her name on the back to seal in the last seam. Now how to take pictures of it... aha! We used a glove like a balloon!
OK, so the balloon thing looks scary. But the hat does look cool!
I have a lot of great material that I have picked up from Ebay and it wasn't hard to find one that suited her. So I brought my material and thread and needles to work, pinched some scissors from the secretary, and then realised I forgot to bring elastic! However, I remembered the oxygen masks have elastic to hold them onto the face so I took some elastic from an oxygen mask - woot I was set!
Fortunately I had a registrar with me all day so I was able to sit in the corner and sew. People thought I was crazy hand sewing a hat, but I managed to get it done by about 1530 and even embroidered her name on the back to seal in the last seam. Now how to take pictures of it... aha! We used a glove like a balloon!
OK, so the balloon thing looks scary. But the hat does look cool!
Thursday, 12 August 2010
Gone sewing crazy!
Ever since I started making my hats I feel like making more things! I saw a gorgeous bag pattern that I wish I could make but I bet it's too complicated for me but the fabric is sooo cute!


I was thinking of making library bags for Erika and Julian. Hubby brought back some nice fabric from Taiwan which is high quality cotton which would be good for bags for the kids. Just trying to find a nice pattern is all. The Heather Bailey pattern is rather pricey and looks way to complicated for me! Here are some more patterns I like:
Sunday, 27 June 2010
My craft project - Theatre scrub hats
Well I have the material and I finally decided to knuckle down and make some hats. Unfortunately I don't have a sewing machine so it's all being done by hand! Looks crappy though, wish I had an overlocker!
Here are some pics...
Starting out
My crappy seams!
Finished product
Wednesday, 17 March 2010
Fabrics I want!
There are so many things you can do with nice fabric. You can add scraps into your scrapbooks, do patchwork, make bibs, nappies or theatre caps!
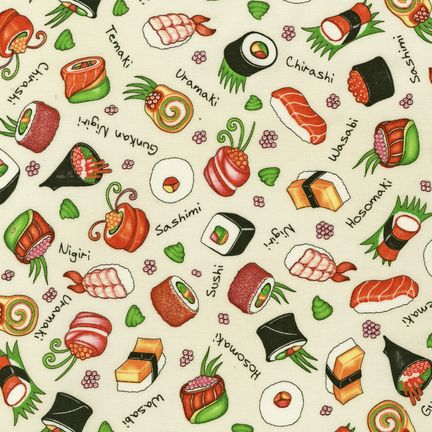
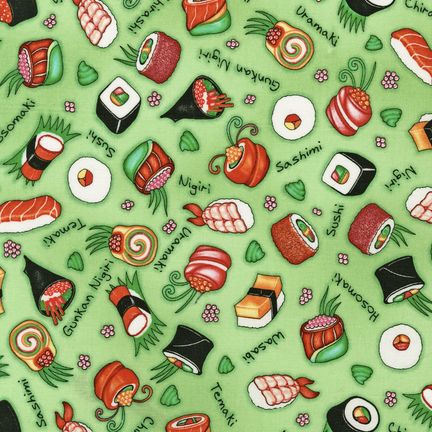
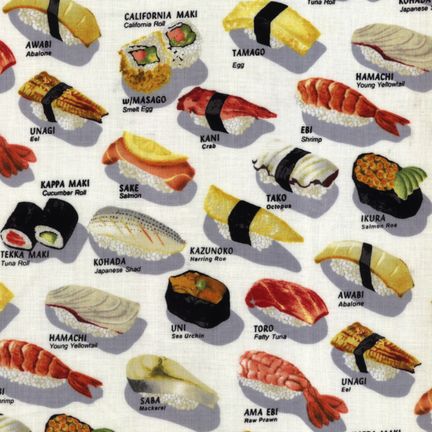
Here is a fabric that I can't find anywhere in Australia! One of the O&G registrars at Liverpool had a hat with this material and I oh-so-want!!! (Picture from Kaufman website)
Subscribe to:
Posts (Atom)